
Who is feeling crafty AND corny today? ![]()
I spent the last couple of days searching snail mail accounts and pins on Pinterest and Instagram, and I got inspired, not to look for a penpal, but to make some bookmarks based on love letters ♥.
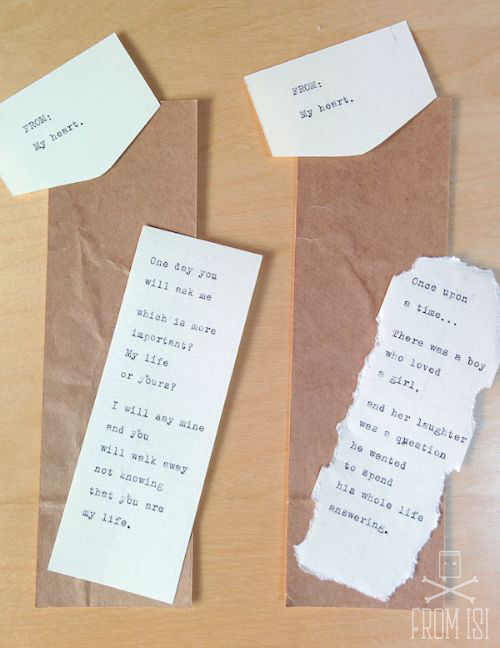
I don’t have any scrapbooking material, so I took a few things from here and there (it was on a Sunday afternoon and I couldn’t buy anything for my crafty inspiration) and this is the result:

Materials:
- Cardboard
- A paper bag, whose colour I liked because it looks old, but you can also use scrapbooking paper.
- A cream-coloured piece of paper for the envelope and the love message.
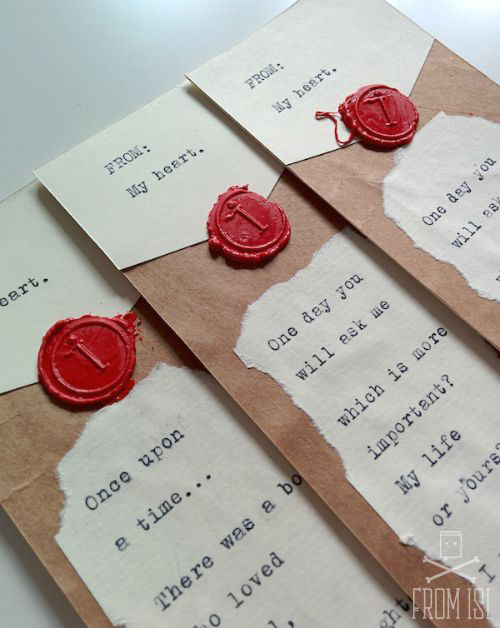
- Sealing wax and a seal; mine has the letter I on it.
- Some ribbons, dry leaves, etc.
- Scissors, glue, a pencil and a ruler.

First, cut the cardboard in four pieces of 20×6 cm and glue them to one side of the bag. Then cut the leftovers.
For the envelope, I just took one I had at home and I used it as a template for the cream-coloured paper. This way you don’t have to waste several envelopes to make the bookmarks.
I wrote the sender and the message with one of my typewriters, but you can perfectly do it with a printer and the typography you like most. However, don’t forget to write everything before cutting the paper, because a tiny piece of paper is difficult to handle on a typewriter or on a printer.
I choose the quotes from Word Porn, which is a page I like a lot. You can also write a quote from any of your favourite books, or even create a poem by yourself!
Then I cut the pieces for the envelope and the message, and then I tore this last one, carefully, at the borders. You can try to burn it a little as well if you are not likely to burn your house, like I am. Then it’s time to glue the written parts on the cardboard.
In order to “seal” the envelope, I watched this video and I did it in my bookmarks. Be careful and don’t put the wax seal too close to the flame, because it actually burns (I learned it the hard way, right?).
Then it’s time for the details: I glued two ribbons in one corner, but I didn’t have enough for all the bookmarks I was doing, so for the last one I glued a couple of dry rose petals. I think they look better, but you know that dry leaves are fragile and don’t last forever, so it’s up to you. You can also cut pieces of paper in a heart shape to decorate, or add some pretty stickers if you have at home.
I like to keep it simple, but there are no limits to your imagination 😉
Do you like the result? I hope so!
Thanks for reading!


These are so cute!!
Thanks, Ciska! 😀
Wow – great job!
Thanks Jennine! I’m glad you like them 🙂
It is a great idea. You are an artist.
Thanks, Mariuca! ❤
These are beautiful! Thanks for sharing photos and how you made them.
Thank you, Kim! I had so much fun making them 🙂
Love these bookmarks. I really need to try to make or collect some pretty bookmarks. The only ones I have are either worn out or a freebie from a comic book convention.
A pretty bookmark doesn’t make any difference, but it’s pretty!! 😀
You can make them with the boys 😉
Very creative! And the bookmarks are beautiful!
Thanks Mel!! 🙂